Getting Started with Cloneflow
Welcome to Cloneflow! In this guide, we'll show you how to migrate sections of your existing website into Webflow with a single click.
Step 1: Install the Extension
You can find our extension here on the Chrome Web Store. Once installed, you can pin it to your toolbar for quick access.
On first use, you will be prompted to sign up (or log in if you already have an account).
Step 2: Select and Copy
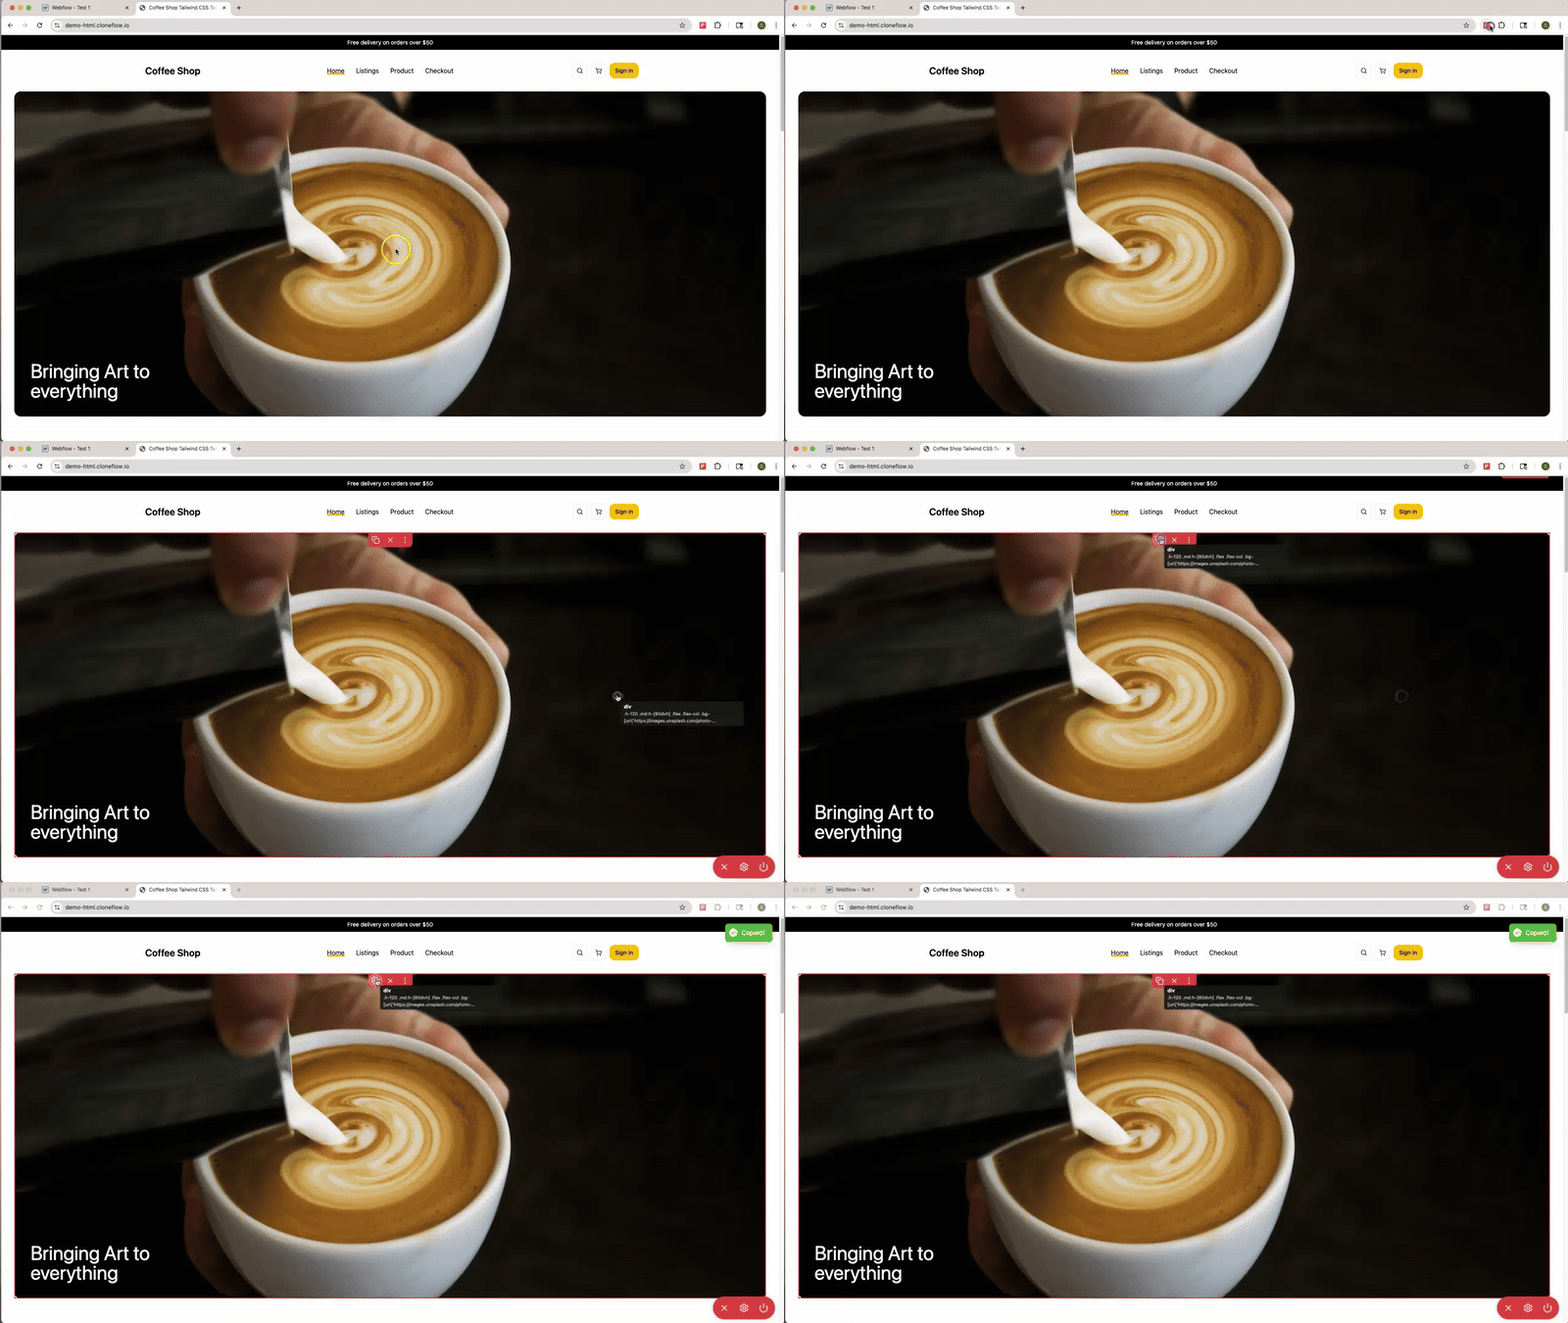
Activate Cloneflow by clicking its icon, hover over the section you want to migrate, click on the section, then click the Copy button. Cloneflow will automatically transform the HTML and CSS into Webflow elements and copy it to your clipboard.

Step 3: Paste into Webflow
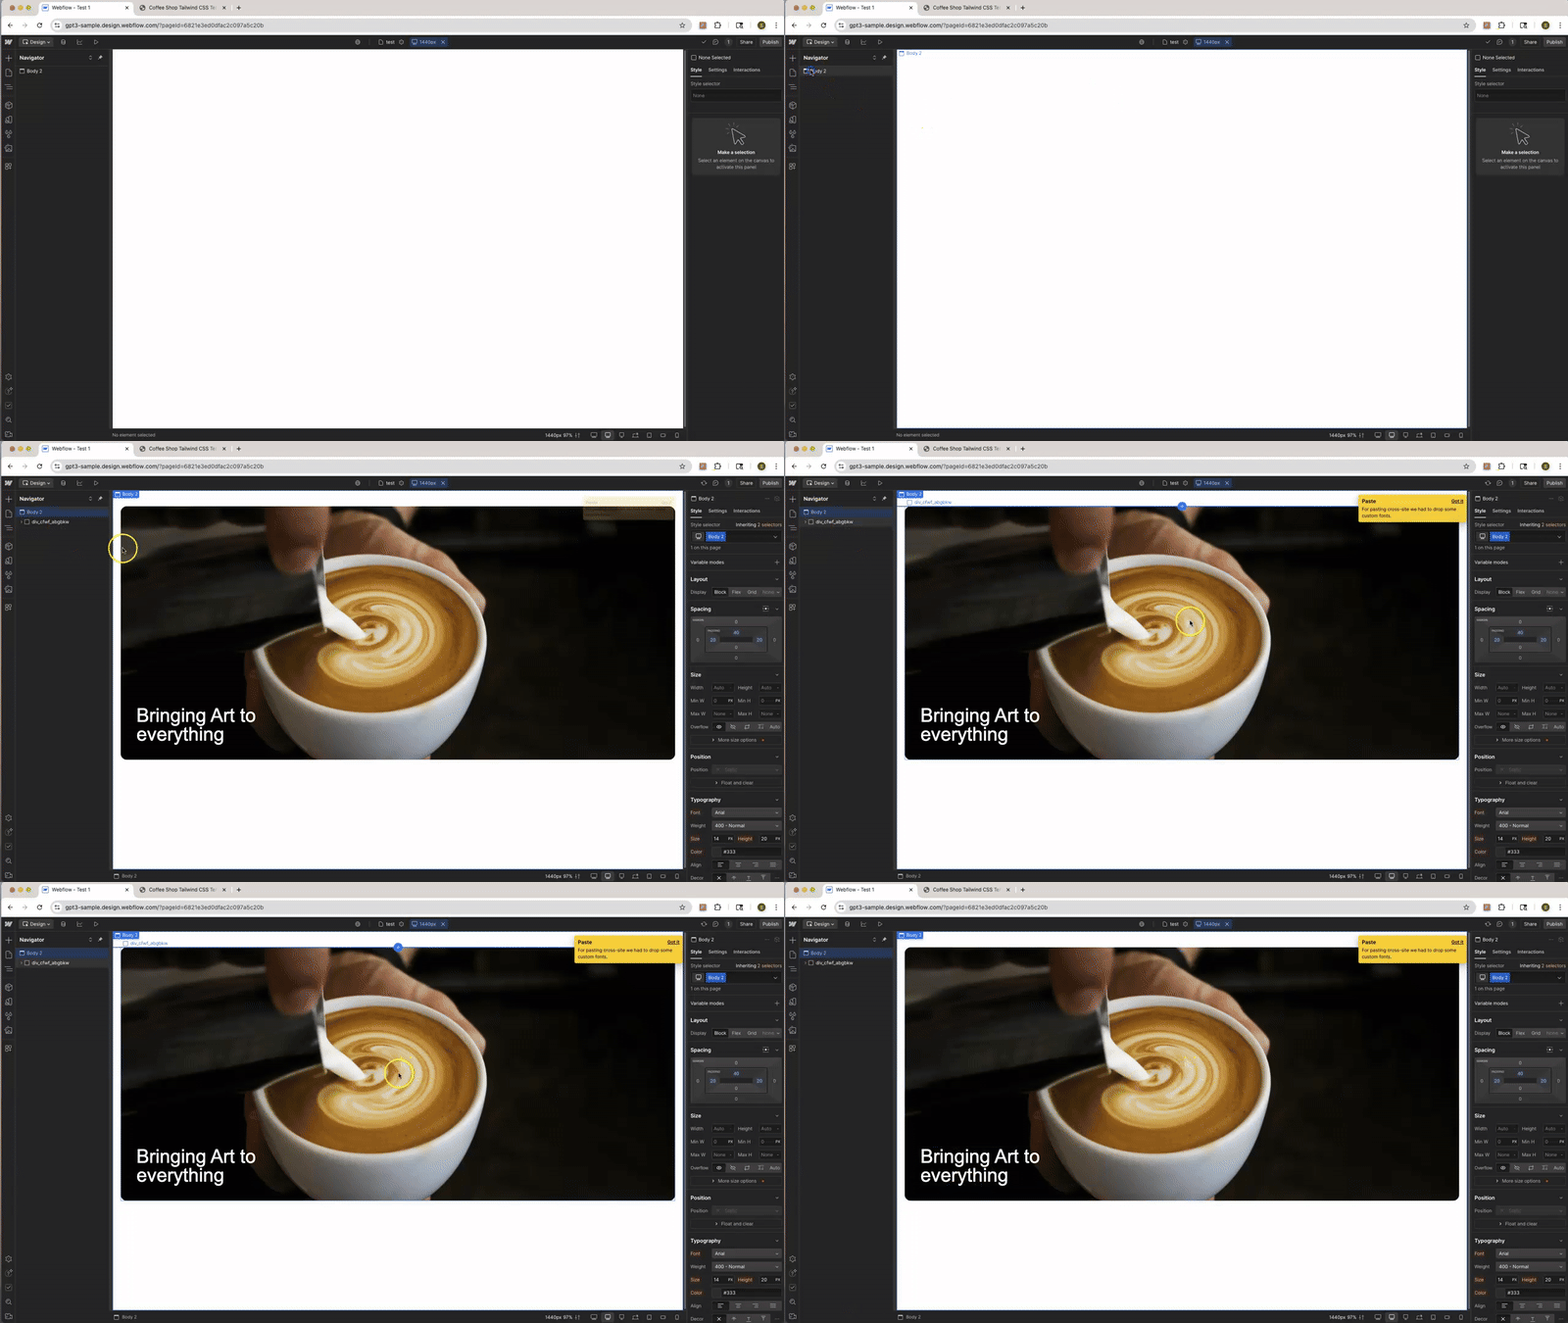
Open your Webflow project, navigate to the desired page, select the body element and then paste the copied content using CTRL + V (or CMD + V on Mac).

Current Limitations
Cloneflow transforms most website elements in one click, but there are a few limitations to be aware of:
- •Forms: Form elements may not copy with their original styling and will require manual setup in Webflow to function properly.
- •Fonts: Custom typefaces won’t transfer automatically, so you’ll need to add your fonts manually. Fonts that are available in you Webflow project will be applied automatically.
- •Media: Media assets like images and videos will load in the Designer preview, but you’ll need to add them to your project’s Assets panel (or CMS) before they appear on your live site—Cloneflow does not automatically upload these files to Webflow.
- •Interactions: As of v0.2.0 Cloneflow does not copy over interactions or animations. You’ll need to recreate these in Webflow using its Interactions panel.